
Pantone’s Color of the Year: Viva Magenta
January 4, 2023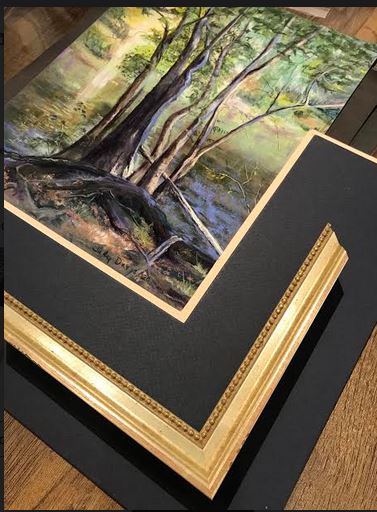
Questions on framing pastels are one of the most frequent questions we get as picture framers. If you have ever had a chalk pastel to be framed, you have probably heard from the artist to “vet” your framer with questions. Pastels can be a bit tricky to frame and require a few extra enhancements to make sure it stays safe for the long term. Coming from an artist background as a framer really helps to understand the process of creating and mounting a piece of art as we’ve all had to go through the same process ourselves.
Here are a few basics to get you started:
1. Make sure you have a REVERSE-BEVELED, archival mat
A Reverse-Beveled mat allows any loose pastel dust to coat the inside of the mat, not the outside-facing bevel of a regular cut bevel. The white of the bevel will not be shown, but allows the dust to remain hidden for best presentation.
Normally, the bevel is just a nice accent to your framed work on paper. However, with pastel dust, the bevel will attract attention away from the art and collect dust over time. Always recommend a reverse-bevel mat with your pastel! If no mat is used, you can use spacers but make sure the paper is mounted properly without bowing and the frame is deep enough to handle the depth.
2. NEVER use acrylic or plexiglass on a pastel
Acrylic and plexiglass create static in a frame, which normally isn’t an issue with artwork. However with pastels, your art can be literally sucked off the paper and eventually ruin your piece over time. UV-filtering glass is always recommended with original artwork, but especially pastels. We recommend using Museum Glass® from Tru-Vue for best possible clarity and protection: Learn more: https://tru-vue.com/solution/museum-glass/ .
3. Allow space for the pastel to fall
Adding a layer of foam or spacing in a frame allows space for the loose pastel dust to fall and collect without dirtying your mat or glass over time. Pastels are hardly ever permanently fixed on the paper, so allowing for this inevitable dusting helps keep the artwork in the best possible shape.
While those three tips should cover most projects, some require more attention that others, especially if the piece is not fixed or sprayed. If framed in properly, a pastel is doomed to be damaged or lost completely.
Here are a few myths that you should NEVER do while framing pastels:
- Treat it like any piece of work on paper.
Like we mentioned above, there are a few extra steps that limit how you should frame a pastel. See notes above. - Use the glass to “smash” the pastel dust from moving.
Just generally NEVER a good idea — don’t do this…. Please. - Ask your framer to spray the pastel.
Some artists will NEVER spray their pastels and that is their choice. We won’t risk damaging your pastel by spraying any sort of fixative. If you choose to spray your pastels, please do so before going to your framer. - Use no glass/plexi.
If your pastel is still a work on paper, you still need glazing to help protect your work from getting damaged. One brush of the shoulder and your artwork could be destroyed.
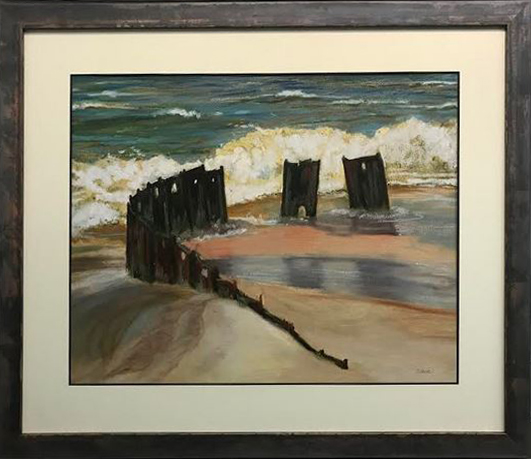
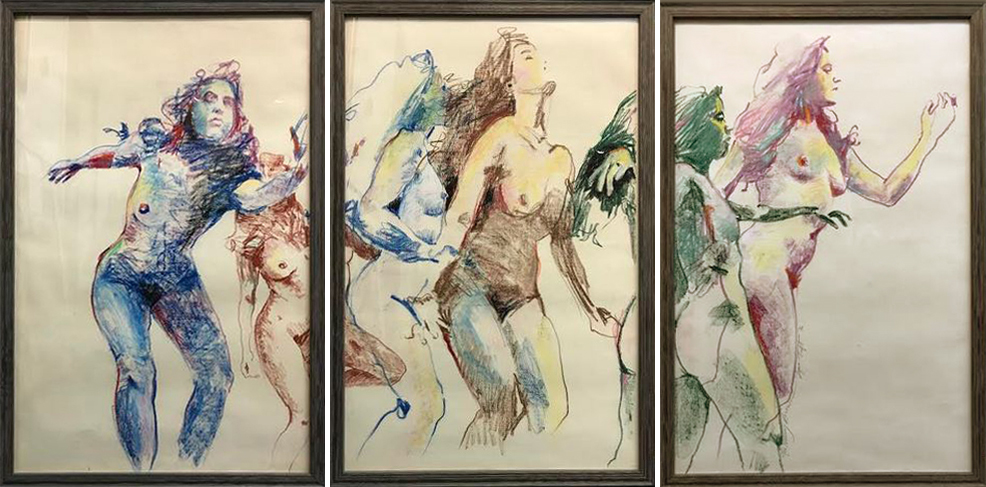
Need some inspiration? Here are a few pastels we have framed in the past:
